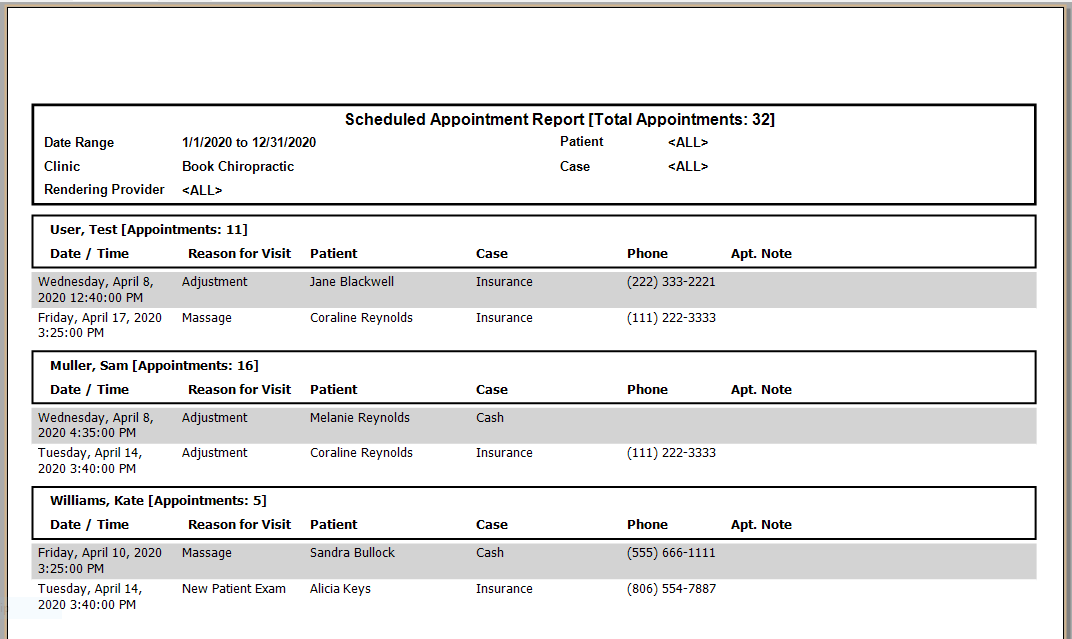
The Scheduled Appointments Report allows you to see what patient/patients have a scheduled appointment for a date range.
It shows the Time, Reason of Visit, Patients Name, Phone Number and Address.
This report is run by Treating Provider (who the patient was scheduled under) and can be sorted by scheduled date/time or by status.
To Run the Scheduled Appointments Report
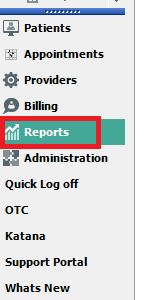
1. You will press the Reports button located in your Tool Bar
2. Next, Select Scheduled Appts button
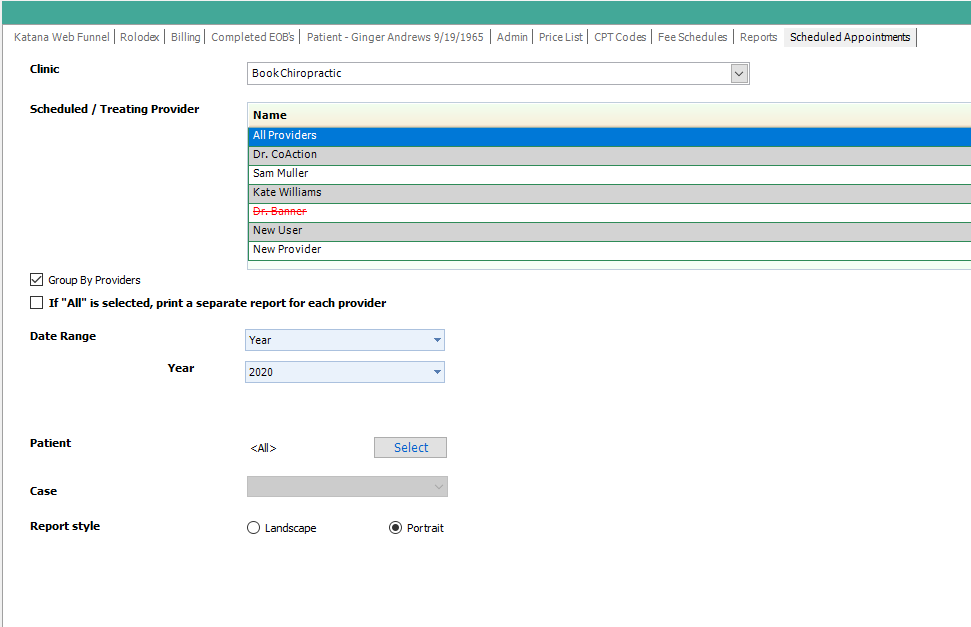
3. Now you will select the filters for your report (see image below).
- Clinic (if left blank, it will show totals for all)
- Scheduled/Treating Provider - Select "All Providers" or Select a Specific Provider
- Group by Provider - If box is checked the report will be grouped by provider, if box is not checked, the report will display appointments by date
- If ALL is selected - Check box if you would like to make a separate report for each provider
- Date Range - select by Day, Week, Month, Quarter, Year or Everything before
- Patient - Select the Specific patient you would like to run the report for or leave it blank to run for ALL
- Case - If you Select a specific patient, you can select a specific case, if they have more then one or it will default to ALL scheduled appointments under all cases the patient may have.
- Report Style - You can choose if you would like the report to be in landscape or portrait view. (both options only available if you check the box Group by Providers)
Here are 2 examples:
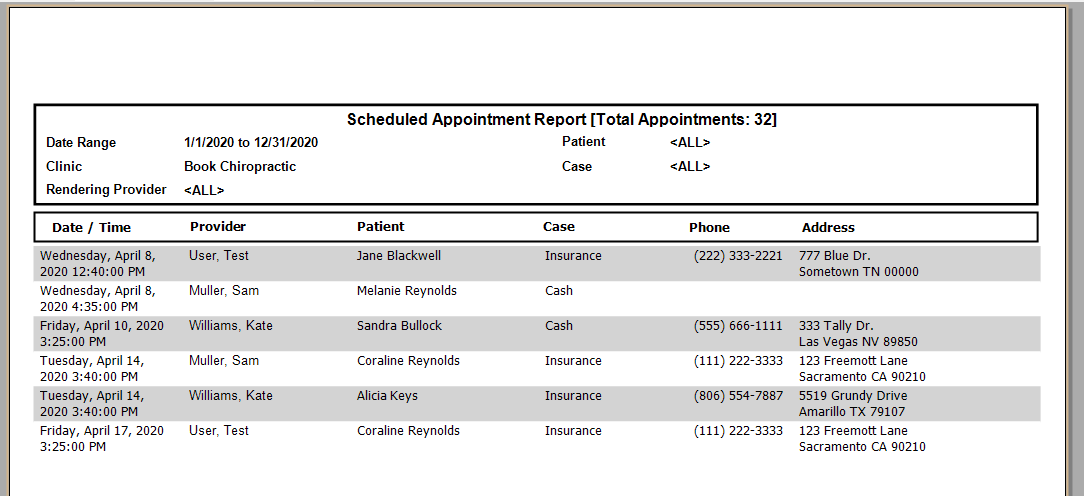
Once the filters have been selected you will see the generated report.
-Your report will display the patients name, When they are scheduled Date/Time, Their Reason of Visit and their case info.
a) Group By Providers - box checked
b) Group by Providers - box NOT checked (this will only print in landscape mode)
Mailing Labels
Next to Csv Export, you will see a button that states
You can select the Mailing Label button to create mailing labels for patients on this report.
To Download/Print a Report
All reports will display a tool bar at the top of the page when generated.
You will be able to Print and Export the document. You will see the Red Circle is highlighting the Print button and the Red Arrow is pointing to the Export options. X=Excel, A=Adobe and W=Word.

- Support Information -
If you have any questions or need assistance with this process please contact Support by:
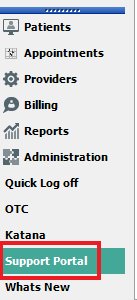
Live chat: Click the 'Support Portal' button in your main toolbar (on left-hand side), click the green 'Support' box in bottom right of screen.***This has the fastest response time***
Phone: 909-378-9514
Email: support@coactionsoft.com
Business hours: Monday-Friday, 8:00am-6:00pm CST
Comments
0 comments
Article is closed for comments.