Birthday Campaigns
Birthday campaigns are a great way to do something nice for your patients and let's face it, everyone loves to be celebrated!
Support has put together an example of how you can use the campaigns with CoAction Communicate to celebrate a patient's birthday by giving them a free adjustment, massage, supplement of their choice, etc.
Below you will see an example of one we put together.
Feel free to use the content we created or make your very own!
First Step: Create the Master, welcoming your patient to the "Birthday Club"
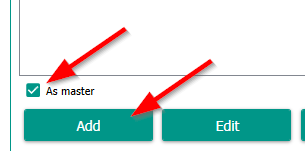
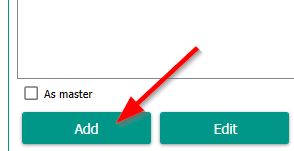
- Make sure to select "As Master" and Add to get started.
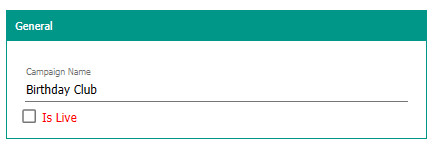
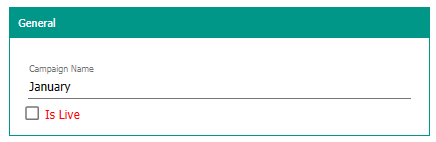
- Give your campaign a name. DO NOT HIT "IS LIVE" YET
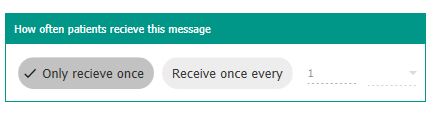
- Select How often to receive "Only Recieve Once"
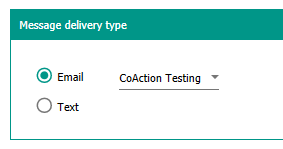
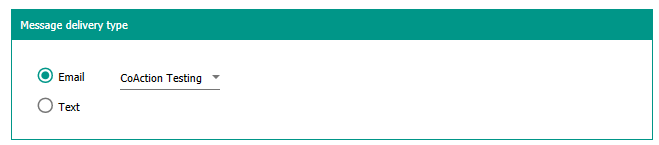
- Select how you are sending. Email and choose the proper sending account from the drop-down.
Here is an example of what your content may look like. When creating, you want to make sure it says exactly what you want it to say.
Subject "Welcome to the Clinic Birthday Club"
Hi {PatientFirstName}!
Welcome to (Dr. Provider's Name/Clinic name/Our) Birthday Club!!
We believe YOUR birthday is a very, very special time of the year and should be honored and celebrated. Our goal will always be your health, for your long-term well-being. In all the tests and exams we do, there's no better way to honor someone than to make sure they feel better, as they are getting older.
Are you worried that you won't remember to stop by the clinic? Don't worry, when your birthday comes around, we will remind you! (Or if you are using online scheduling, you can ask the patient to preemptively schedule an appointment within their birthday month to come see you) ;)
Sincerely,
Dr. Providers Name
Here is an image of how it should look so far!

Now, let's add in your filters, so it hits your target audience.
We recommend selecting "Do Not Include Inactive or Terminated" that way it will go out to all of your New Patients, Leads, and Active Patients.
To do that, just select Do Not include from the first drop-down, select Inactive from the second, and hit the plus sign to the right to lock it in. Then repeat the steps but, choose Terminated from the second drop-down. Once you are finished it should look like the image you see below.

- Now Save

Step 2: Creating your Subsequent Campaigns
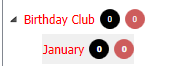
- Select the "Birthday Club" campaign you just created and make sure it displays in blue
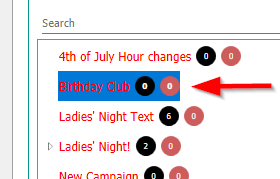
- Select "Add" at the bottom. This tells the system that this campaign cannot go out unless they received the Master Birthday Campaign Welcome email.
Please Note: This email will need to be created for each month of the year. January, February, March, April, and so on.
- First, we will do "January's" so name the campaign "January or January Birthdays" DO NOT HIT "IS LIVE" YET
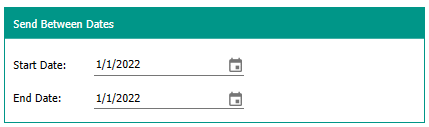
- Choose to Send Between dates as start Jan 1st, 2022 and ends Jan 1st, 2022 so it makes sure everyone gets it on the first day of the month.
Feel free to open the range if you would like to
- Then select Receive Once every 1 Year so it will run yearly
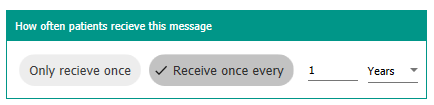
**PLEASE NOTE: If you are unable to see the entire spot for "Receive once every _(1) (Years)", You will need to create this campaign on a Device with a bigger monitor or a Device with better Monitor Resolution, Remember 1060X1050 is Ideal.
- Choose how this message will send out. Email and choose the proper sending account from the drop-down. If your message is short and sweet (180 characters or less) you can send as a text if you would like.
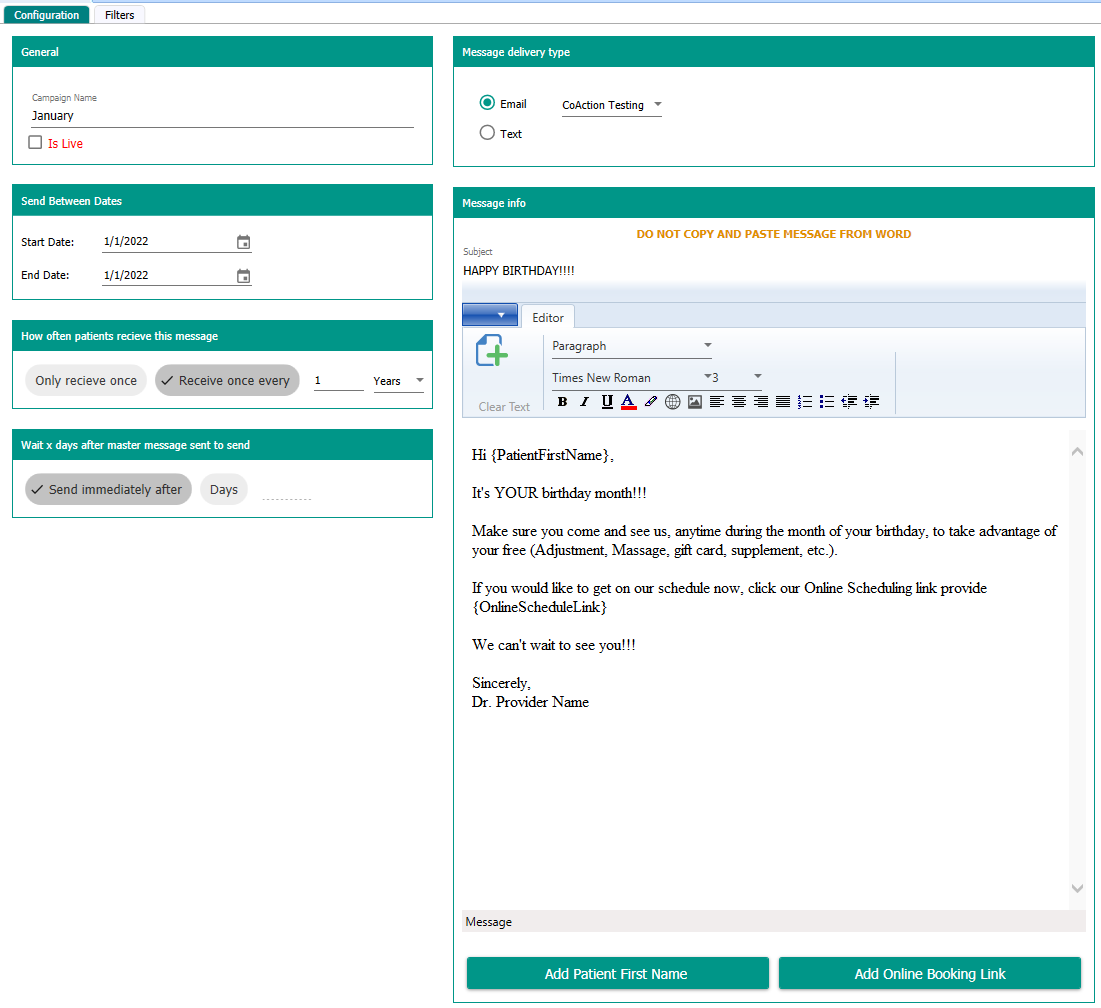
Here is an example of what your content may look like. When creating, you want to make sure it says exactly what you want it to say.
Option 1: {PatientFirstName}, It’s YOUR birthday month!!! Here is something special, just for you 🧁
INSERT FUNNEL LINK TO WHATEVER YOU ARE HONORING THEM WITH
Option 2: {PatientFirstName}, It's YOUR birthday month!!! Make sure you come and see us, anytime during the month of your birthday, to take advantage of your free (Adjustment, Massage, gift card, supplement, etc.)
If you would like to get on our schedule now, click our Online Scheduling link provided {OnlineScheduleLink}
We can't wait to see you!!!
Sincerely,
Dr. Provider Name
Here is an image of how it should look so far!
Now, let's add in your filters, so it hits your target audience.
- Person Status
We recommend selecting "Do Not Include Inactive or Terminated" that way it will go out to all of your New Patients, Leads, and Active Patients.
To do that, just select Do Not include from the first drop-down, select Inactive from the second, and hit the plus sign to the right to lock it in. Then repeat the steps but, choose Terminated from the second drop-down. Once you are finished it should look like the image you see below.
- Birthday Months
Now go to filter option "Birthday Months" Select "January" from the drop-down and hit plus sign to lock it in. Once you are finished it should look like the image you see below

- Now Save

Repeating Step 2
Now that you have your Master and January subsequent campaign created, it's time to create one for February, March, April.....
To do this, you will repeat the steps in Step 2.
For Example, Only changes will be:
- The campaign name is February
- Send between dates 2-1-21 to 2-1-21
- The birthday Month Filter is February
Testing your Campaign
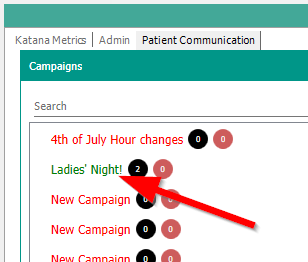
To test your campaign and make sure everything is EXACTLY the way you want it, go to your list of saved campaigns and click on the one you would like to test, once highlighted, right-click your email campaign.
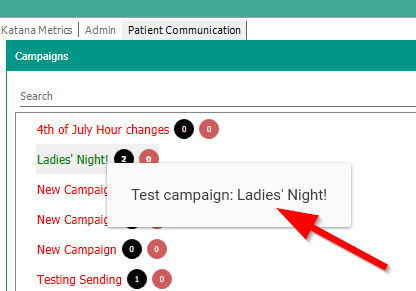
Select Test Campaign: Campaign Name
Enter your Name, the Email address you want the campaign to go to, and hit SAVE.
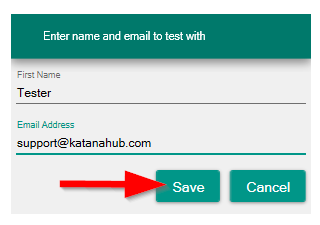
Then check your email :)
- If the email you have received is not how you would like it to be, go back in, edit and Re-Save.
- Then Re-test :)
There are no limits on how many times you can test your campaigns.
If you are not seeing your email in your inbox, make sure you check the "ALL MAIL" area or your SPAM box before contacting support to report an issue.
Sending
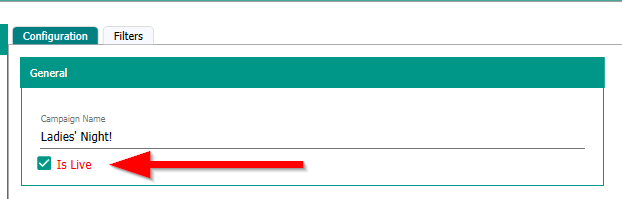
Now we are going to go back into each campaign and selecting "Is Live" This needs to be done for the Master and ALL Monthly birthday campaigns to ensure they go out when they are supposed to :)
This step is crucial! When you are pleased with your campaign design (after testing & Creating all 13=Master + 12Months), you MUST select "Is Live" for your campaign to run.
Done!!!
Comments
0 comments
Article is closed for comments.