- Create a Payer in Admin
- Create a Fee Schedule for that Payer
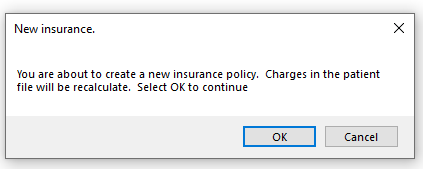
- Add insurance policy into patient's file (with the payer and fee schedule)
Creating a Payer in the Admin Section
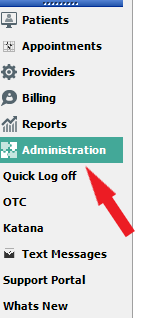
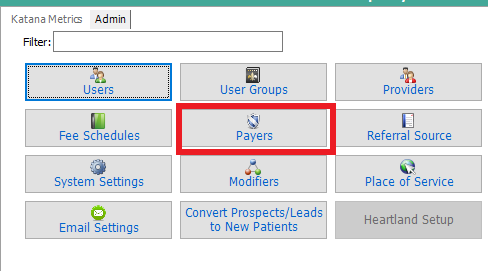
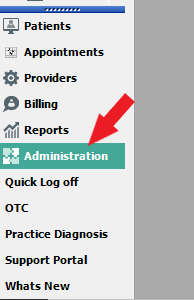
Step 1: Go to Administration > Payers area
Step 2: Click Add button at the bottom of the page
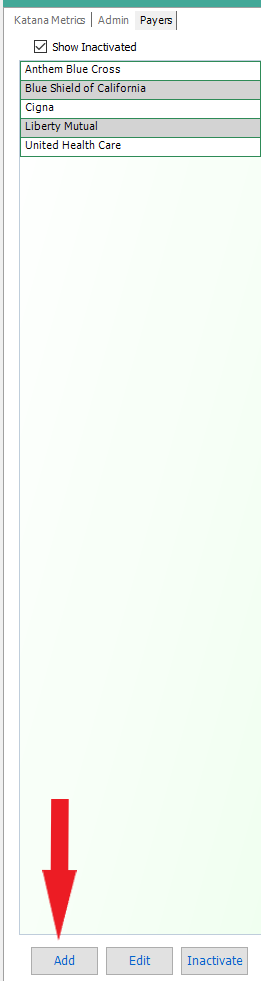
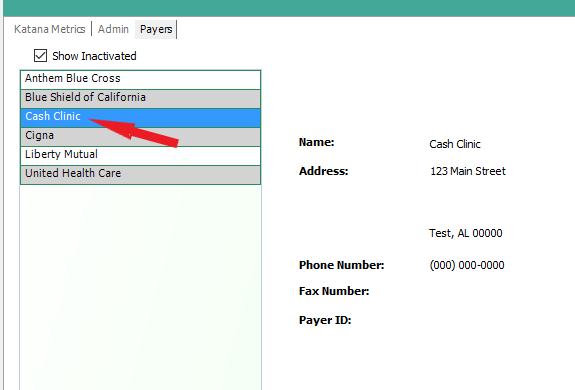
Step 3: Create a fictitious payer that your clinic can use so that you can create a fee schedule. In this example, we named the payer 'Cash Clinic'. Add in your clinic's info, and click Save. Then your new payer will show in the Payer's list

Creating your Fee Schedule
Step 1: Under Admin
Step 2: Fee Schedules

Step 3: You will select the “Copy from Price List” button. 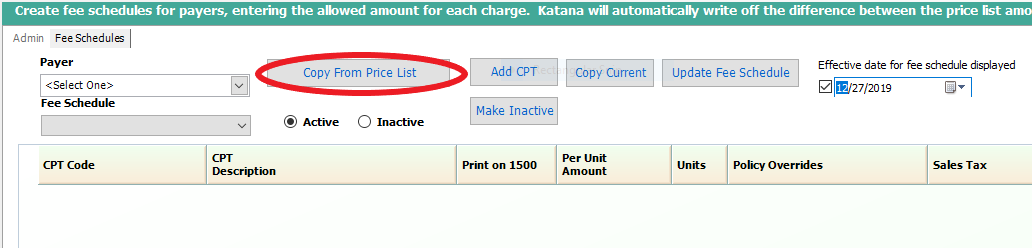
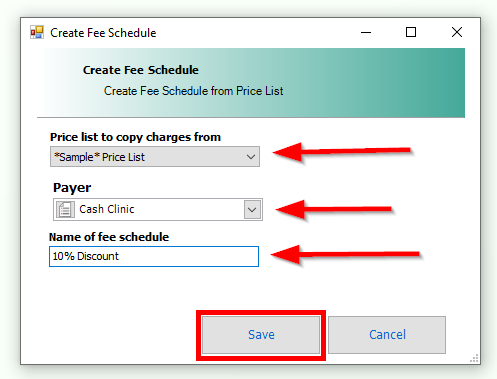
Step 4:
- Make sure the correct Price List is selected. (Should Default to the one you are using)
- Select the appropriate Payer from the drop-down provided. If your payer is not within the drop-down, it will need to be added into the system via Admin > Payers.
- Provide a name for this Fee Schedule so you can easily reference the appropriate one when adding a Fee Schedule to the patient’s file. The Name should clearly state what discount is being provided.
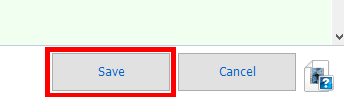
- Then select Save.
Tip:
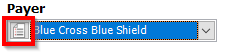
The icon to the left, which looks like a piece of paper, allows you to add a new payer without having to go back to Admin>>Payers section.
Step 5: Displaying Discounted amounts
Once you have Selected Save, everything from the Price List will be visible.
You will go down the list changing the amounts you see, to the appropriate discounted amount.
If a specific CPT code, such as a supplement does not have a lowered allowed amount, you will skip it. (leave the price list amount that shows what you charge)
Also, you will want to make sure that the correct Start Date, for the CPT code is applied.
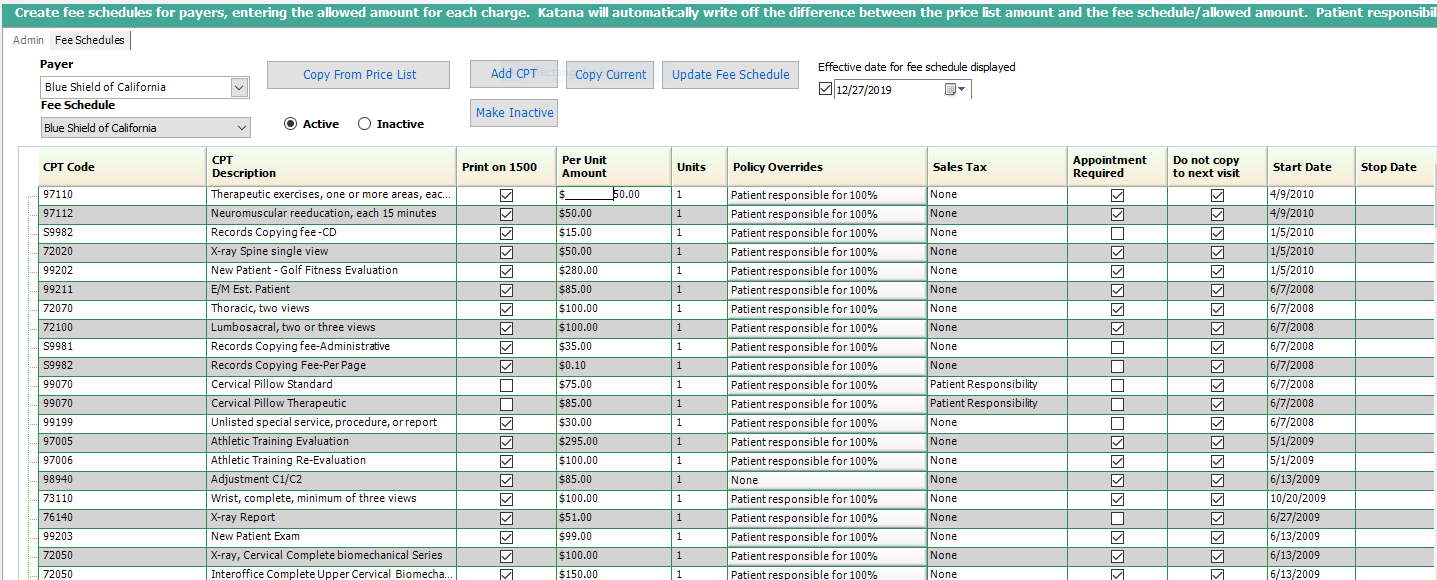
If the Start Date is AFTER a Date of Service you would like this to take effect on, you will receive an error that states: CPT NOT ASSOCIATED WITH FEE SCHEDULE
When finished, you will select Save again at the bottom Right
Please keep in mind, if you add a CPT to the Price List in the future, you will have to add that CPT code to each fee schedule created.
Adding Insurance and Fee Schedule to Patients File
STEP 1:
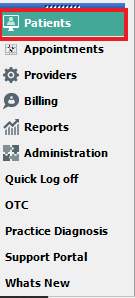
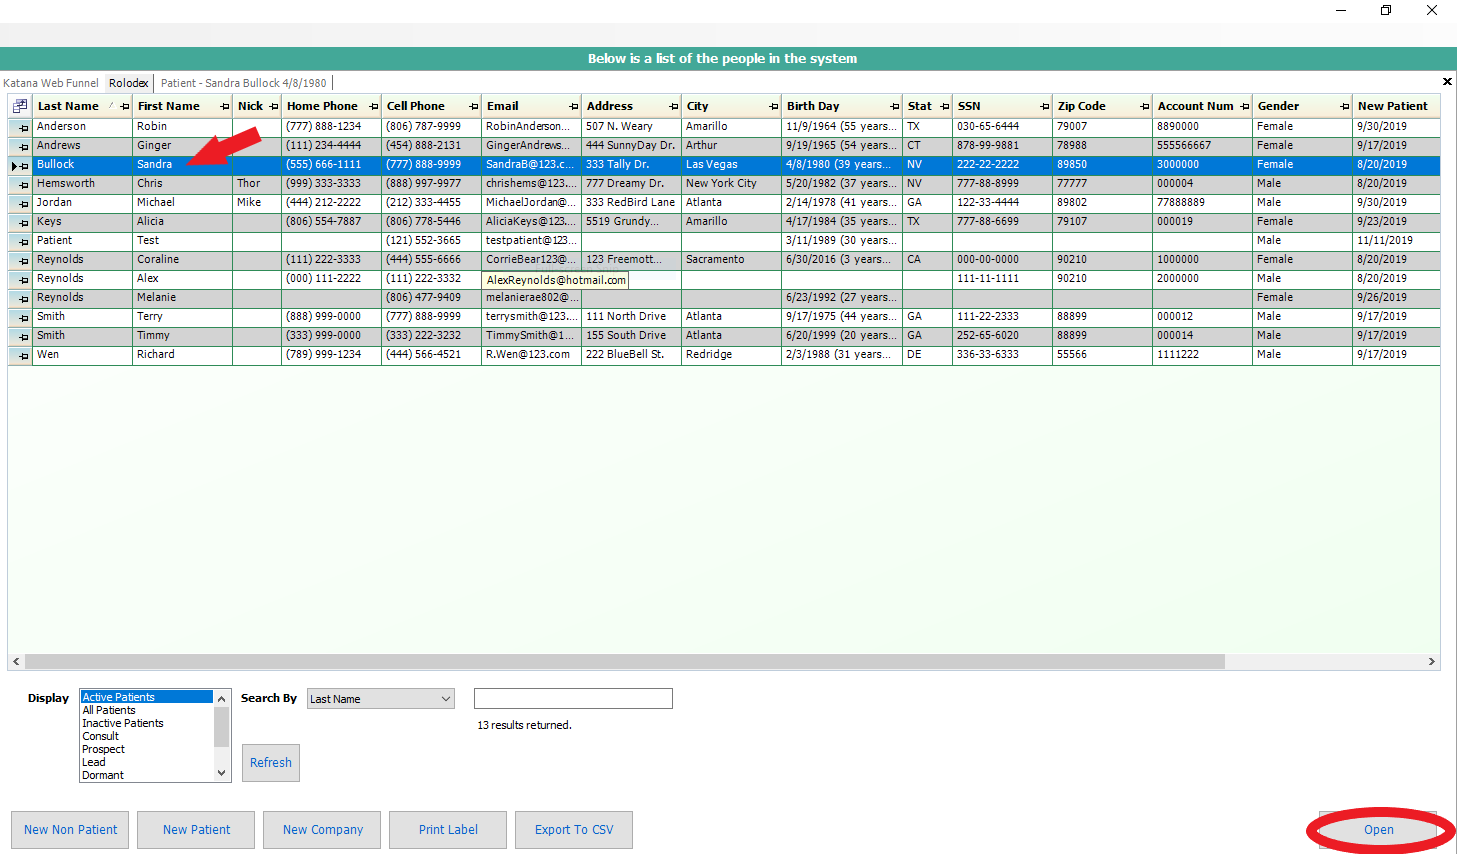
Go to the Patient Rolodex, by selecting Patients in your main toolbar on the bottom left of the screen and find the patient's name in the Rolodex.
STEP 2: Go to the patient's Insurance Tab and Select ADD/EDIT button

STEP 3: Select Create New Policy, Click Next

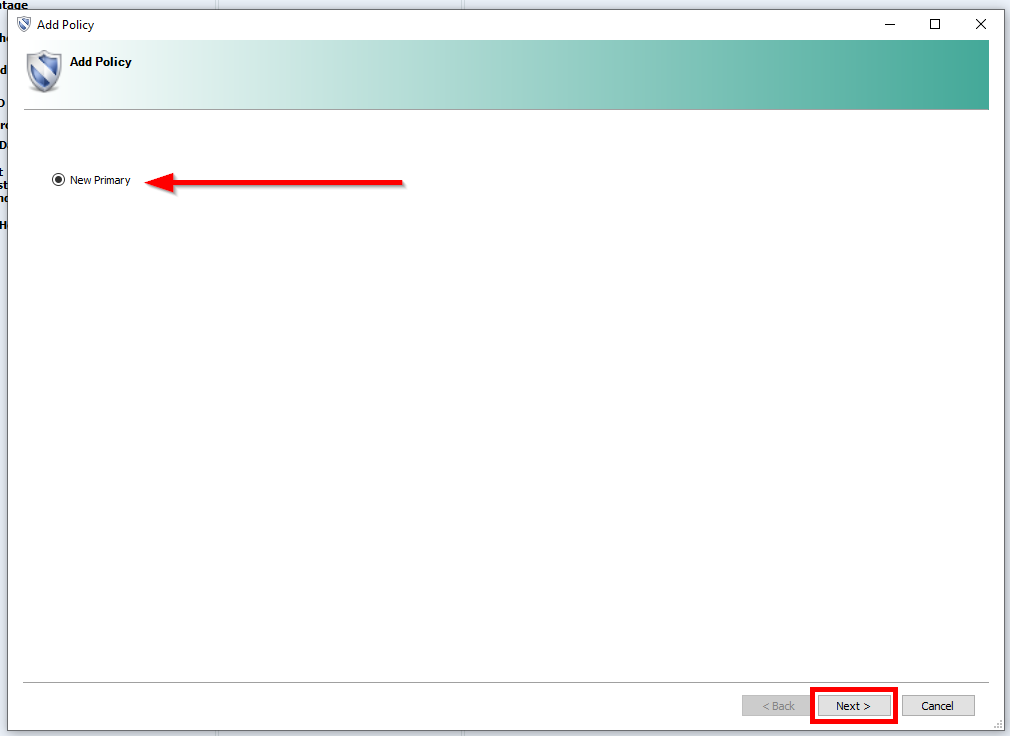
Step 4: Select New Primary, Next
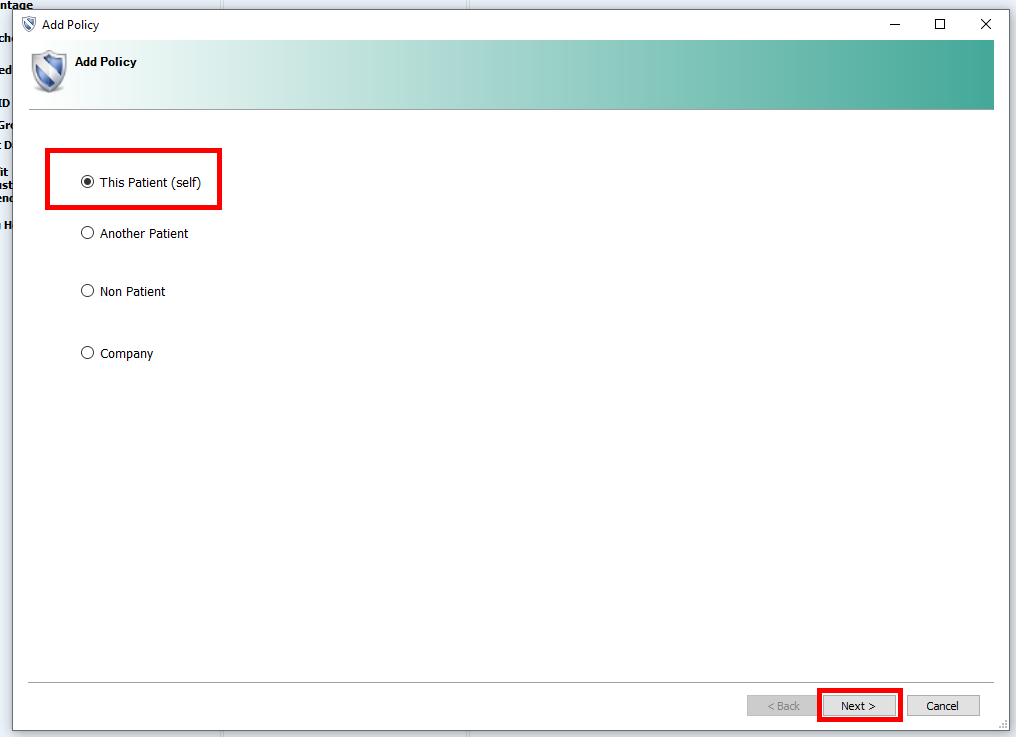
Step 5: Select "This Patient (self), Next
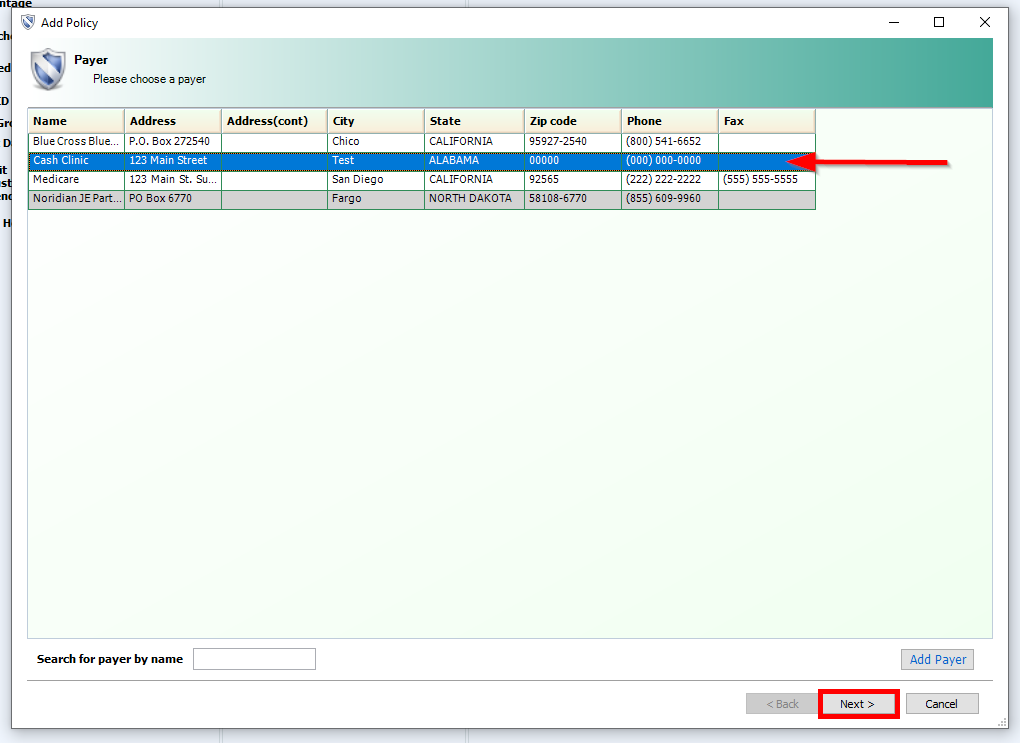
Step 6: Select Insurance Payer Created for Clinic, Next
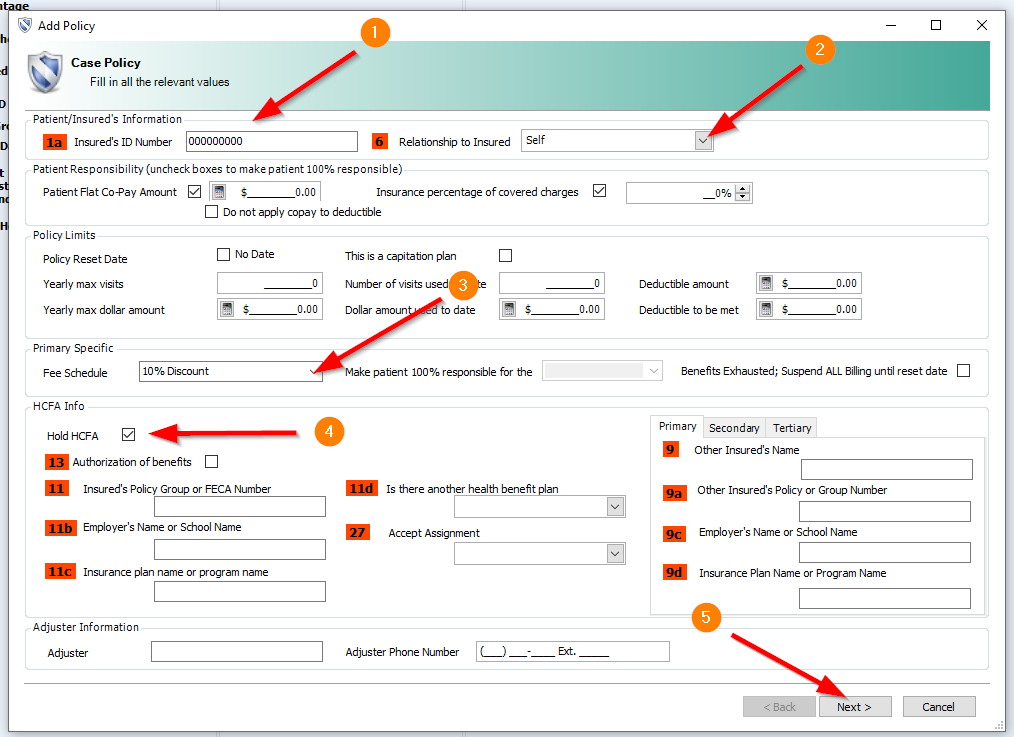
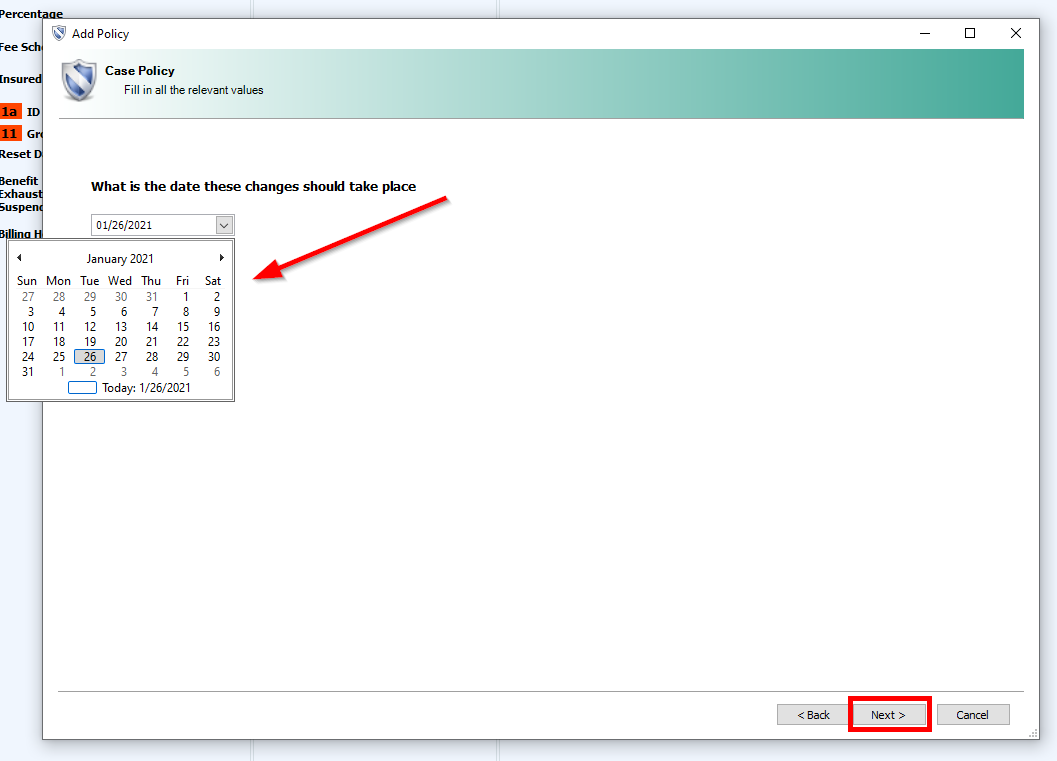
Step 7: Entering Policy Information
In this area, you will focus on specific areas
- Insurance ID: Anything you would like to put. SSN, DOB, ACCT Number, etc.
- Relationship to Insured: Self
- Select Fee Schedule Created from the Drop-Down
- Select Hold HCFA Button
- Next
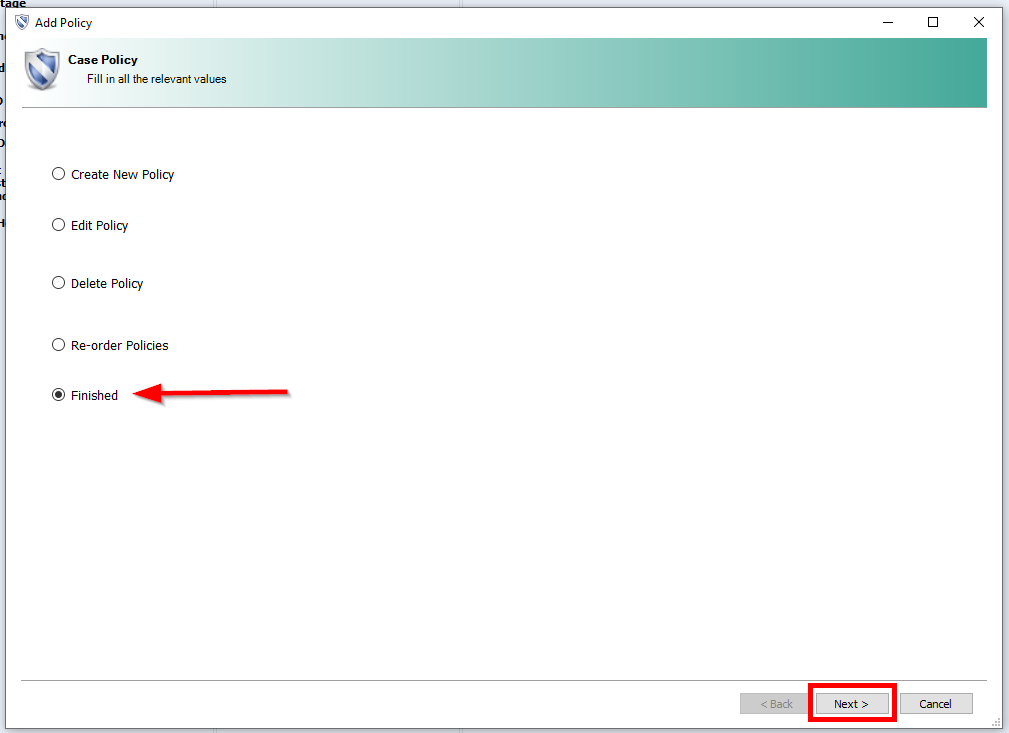
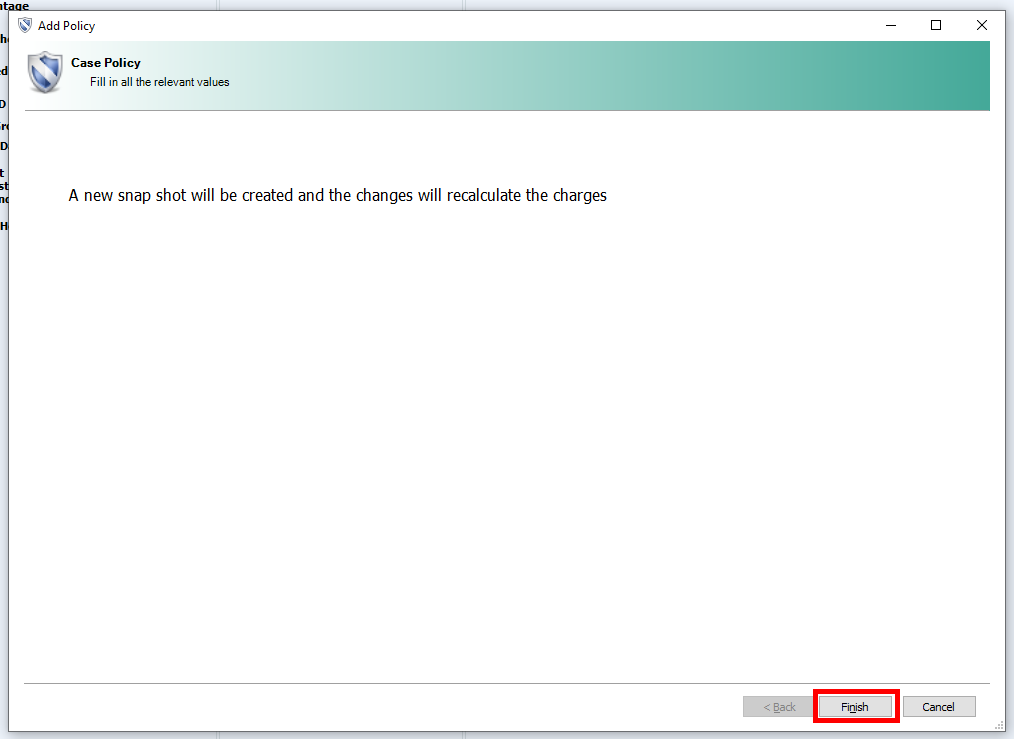
Step 8: Select Finished, Next
Comments
0 comments
Article is closed for comments.