Online Scheduling Patient View
Scheduling a New Appointment
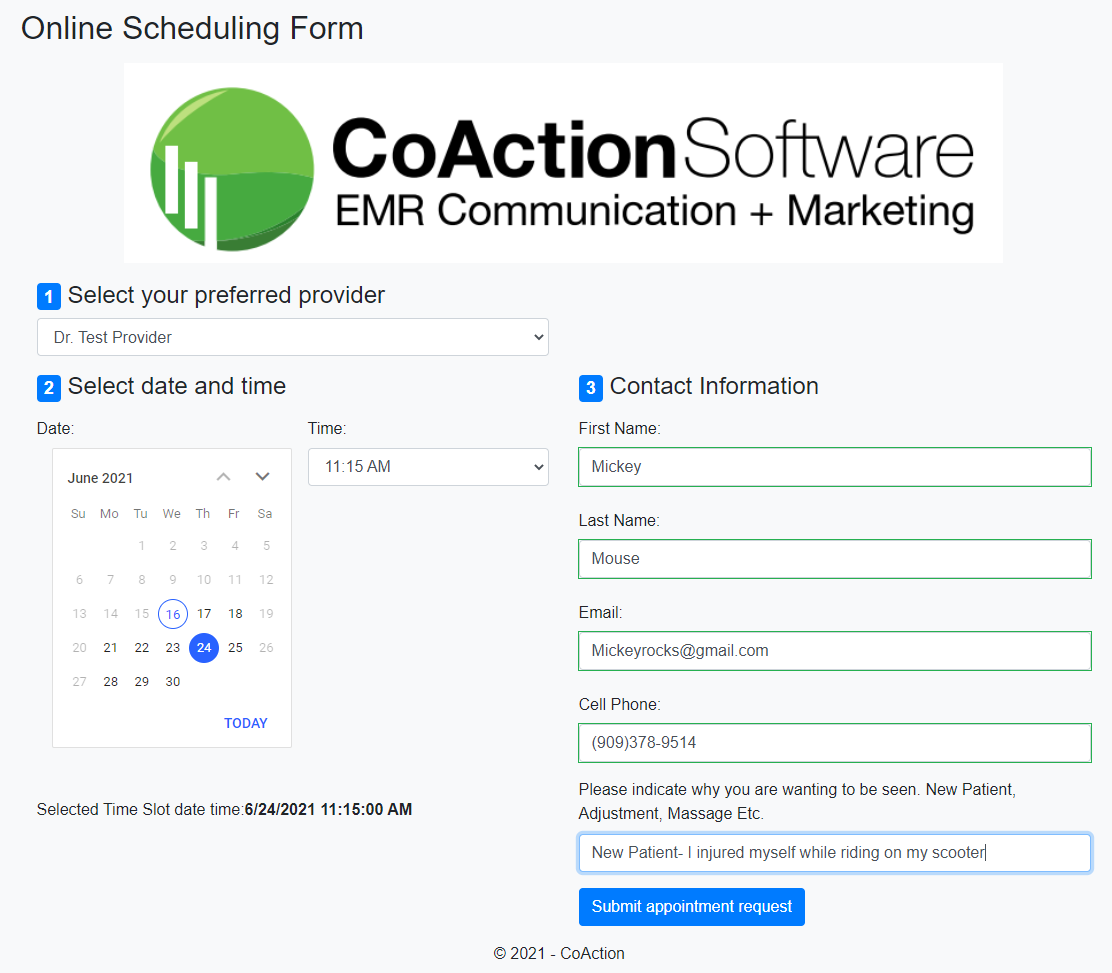
Once your link is live, this is what the patient will see. The logo you have placed in will display along with the required fields for a patient to fill out.
1. Select Preferred Provider: All providers within your database will display within the dropdown for a patient to choose the provider they would like to schedule time with.
2. Select Date and Time: Dates and Times according to the provider's office hours. If the Resource booking feature is being used, times will be removed if a time slot has the maximum number of patients scheduled.
3. Contact Information: The patient will be required to enter First/Last Name, Email, and/or Cell phone number to move forward for database Identification. They are also able to enter a note as to why they are scheduling their appointment.
4. Reason for Appointment: The patient has a place to indicate why they would like to be seen in the office. This area will remain attached to the patient's appointment.
5. Submit Appointment Request: At the bottom, the patient must select Submit appointment request for it to move on to the clinic. All appointments scheduled will be received within 5 minutes.
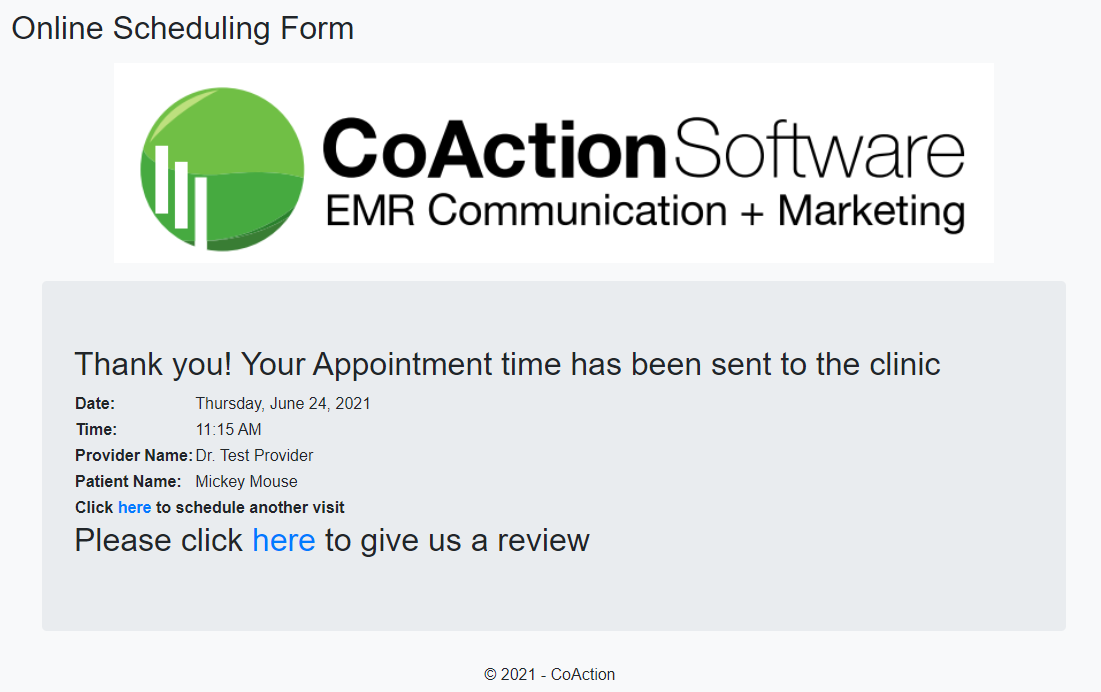
Each patient will see the customized confirmation page when the appointment is scheduled.
Rescheduling an Existing appointment
When a patient receives their Appointment Confirmation Email/Text or an Appointment Reminder Email/Text, where the reschedule link is present, they can click the link to reschedule that appointment.
- They cannot use the reschedule link to reschedule any other appointment they may have scheduled within the clinic (maybe several appts were scheduled at one time.) other than the one they received the message for. They will have to wait to reschedule when they receive a message about the additional appointment.
- When an appointment is rescheduled, the system will create the new appointment with the prior ROV attached to the appointment they are rescheduling.
- If you have it selected for existing patients to go straight to the schedule, the old appointment will be removed and a new appt will be created.
- If you have it set that all appointments must be approved, you will have to approve the request before the old appointment will come off the schedule and the new one added.
Here is an image of an email they may receive

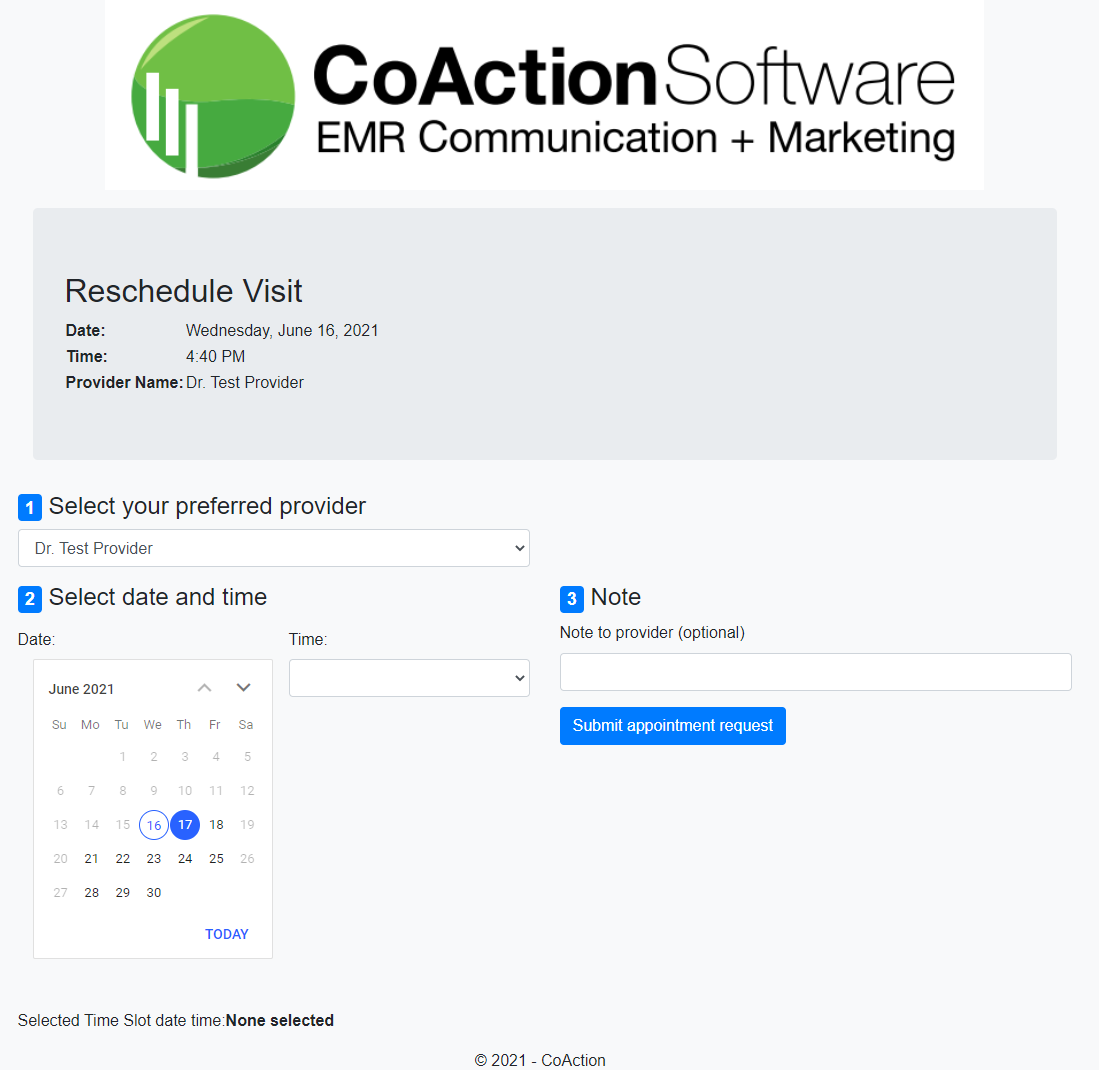
Once the link is selected, The patient will be brought to this page. They will see the data of the appointment they are wanting to reschedule. They will select the new date and time they would like to come in along with a note to the provider as to why they are rescheduling. Once they are finished, they will select "Submit Appointment Request".
Canceling an Existing Appointment
You can also provide the patient with a link to cancel their appointment within an appointment reminder or appointment confirmation Email/Text.
Clinics may not opt to do that, but the option is there if you would like to.
- They cannot use the cancellation link to cancel any other appointment they may have scheduled within the clinic (maybe several appts were scheduled at one time.) other than the one they received the message for. They will have to wait to reschedule when they receive a message about the additional appointment.
- When an appointment is canceled, the system will cancel the appointment with the reason "Online Cancellation" under the Cancelled Appointment Report.
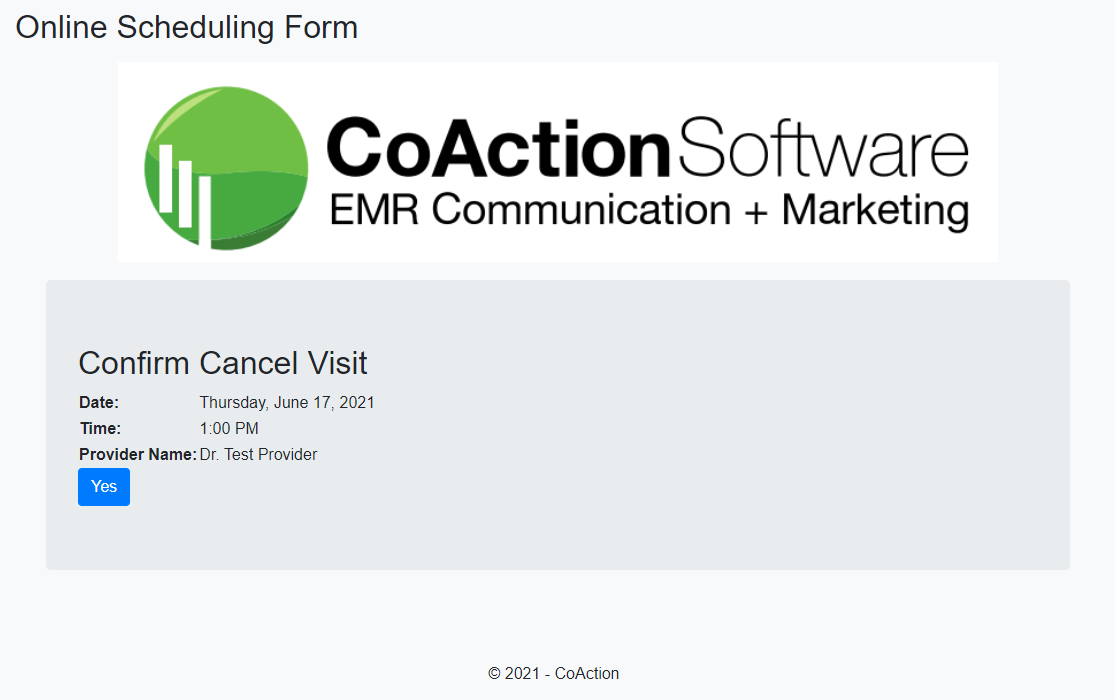
Once the link is selected, The patient will be brought to the "Confirm Cancel Visit" page. They will see the data of the appointment they are wanting to cancel and they must select "Yes" to cancel the visit.
Comments
0 comments
Article is closed for comments.