Self Check-In Set Up
The Self Check in feature allows your patients the freedom to come into the office and check in on a PC/Kiosk or Tablet of your choosing.
Please keep in mind that the system is Windows based. This means that choosing a windows pc/tablet etc is the best option. If you choose to use an iPad or other non-windows option, you will need to use a remoting service to access another pc in the office that has self check in enabled.
**NOTE: The software will ALSO need to be installed on the tablet/device you are choosing to use, as that is where the Self Check in Module receives its data so it MUST meet the minimum requirements as indicated here: https://katanahub.zendesk.com/hc/en-us/articles/360043009011-Windows-Tablet-IPad-Or-Android-
You can assign surveys to specific reasons for visits that your patients would be scheduled for.
The system comes pre-loaded with 5 survey options. Rand/SF 36, Rand/SF 15, Daily Intake Short form, Daily Encounter Long and the Daily Encounter Short V1. These surveys will still need to be reviewed and info will need to be entered into the empty fields.
Surveys will place answers into the target location of the SOAP notes area you choose.
You can View, download and Save the Patient’s finished survey. If point values were added to the Survey, you will see that information as well.
Server clients can use a signature pad and card swiper with Self Check-in. To purchase, please access the provided links.
To use a card swiper, you will need to purchase these exact ones:
- Card Swiper - provantage.com Magtek - Magstripe Swipe Card Readers SureSwipe HID MSR Track-1/2/3 - Black
***Please keep in mind, that if the name on their DL or CC does not match the name you have their account under, the system will not find the patient***
Please keep in mind: Surveys are not required to utilize Self Check in. If you do not want your patients answering survey questions, you will not create surveys or assign them to a reason of visit.
There is not a free text option when creating your surveys. Specific answers are created for your specific questions.
Also, you will have to have CoAction installed on your Self Check In PC as it feeds info to the self-check-in module. If the software has not been installed, please contact support to get that done 😊
Let’s walk through the setup process.
Under Admin
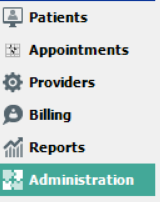
Self Check-in
The first screen you will see, needs to be created. The only info displayed will be your clinic name entered in to your database.
Please keep in mind, if you have multiple clinic names entered in, you will have to choose which one everyone sees listed. You are unable to create a self-check in database for more then one clinic.
Setting up Display Information:
First, create a “Welcome Message” for patients to see when logging into Self Check-in.
Second, set up your Clinic Logo for Patients to see:
- Logo must be downloaded to your computer
- Click on the “No Picture available box”
- Go to the location on your computer the Logo file is saved, Select Logo and hit Open
You will see a download bar appear
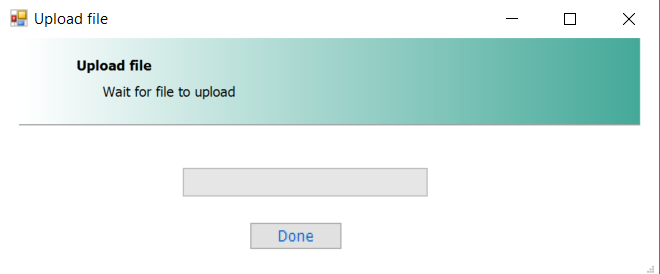
Once uploaded your Clinic Logo will appear on the screen
Adding Self Check in access on your PC/Kiosk/Windows Tablet
You will now need to download the self-module to your kiosk/pc. To do this you will select the blue hyperlink at the top right of the Admin> Self check-in screen.

If a pop up occurs stating that you need permission to access Google Drive, please contact support so that we may allow access.
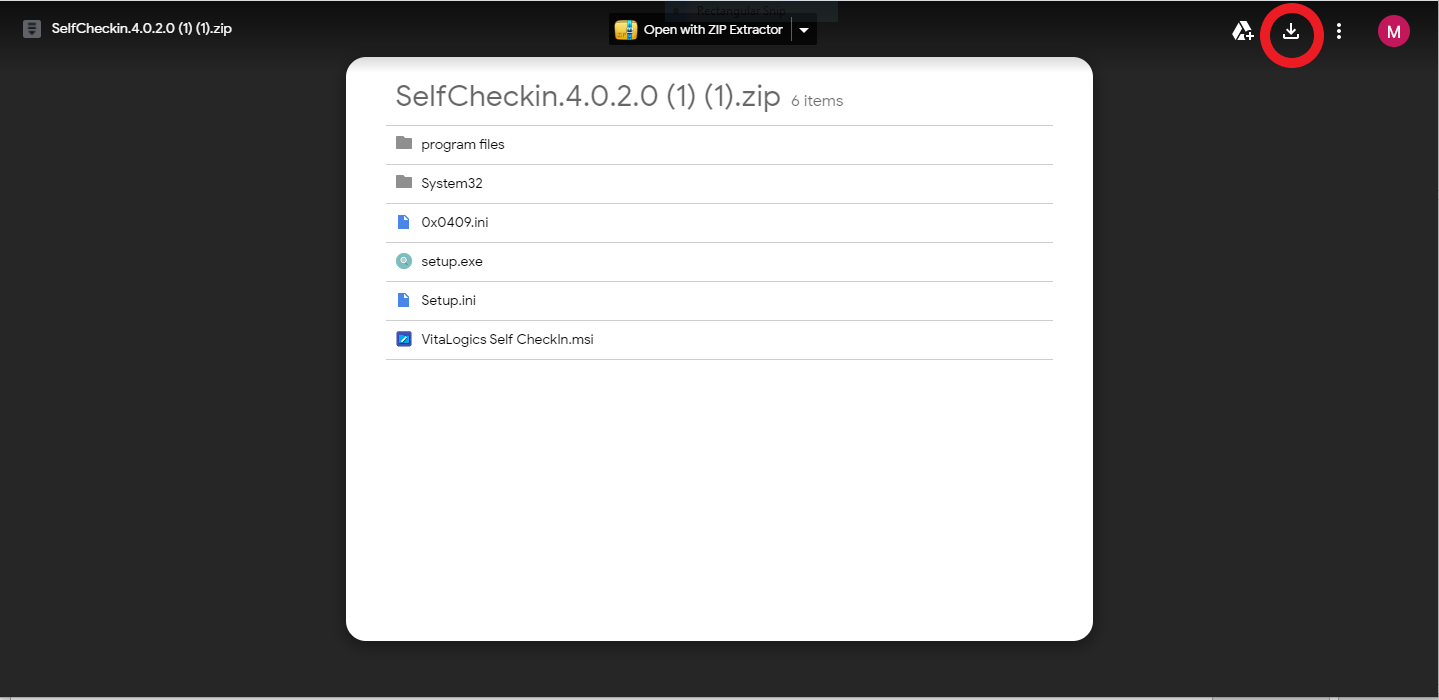
This is the next screen you will see after clicking the link. You will need to select the download icon in the top right corner of the page to download
*This may appear differently depending on what device you are downloading self checkin on
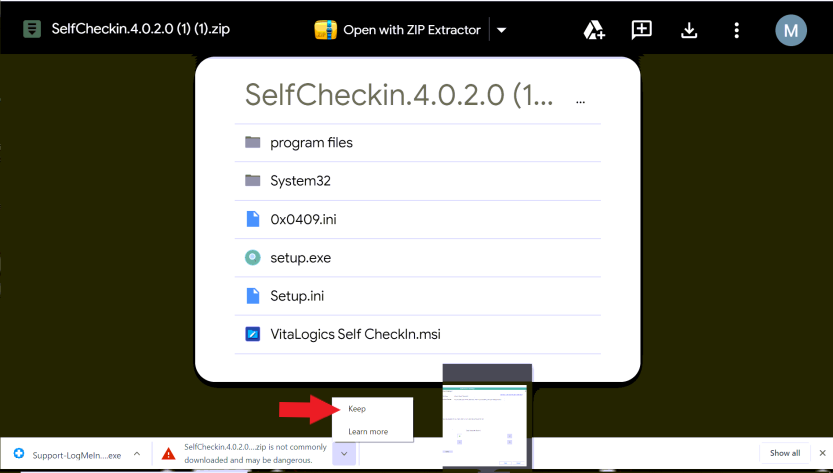
The 'SelfCheckIn' download will display in bottom left corner of screen with a red !, you will need to click the down arrow and then select ‘Keep’ to finish the install.
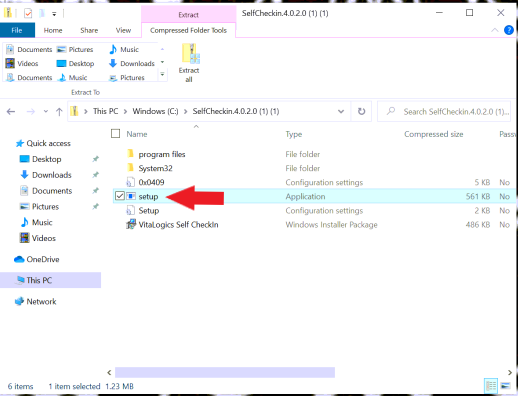
Once it's downloaded, go to your computer's file folder > This PC > open SelfCheckIn in file, then click on 'setup' like in picture below:
Follow all prompts for installation. Once the installation process is completed, you will see a Self Check-in Icon on your desktop.

Once this appears, you are ready to launch the feature.
Please keep in mind: When Self check in is running on your desktop, you will not be able to exit unless you select the windows icon on your keyboard to display your toolbar, right click the self check in Icon and select close window. Or you will need to use the ctrl alt delete to force shut it down. This is an active security measure, so patients do not have access to your desktop to play around.
To Continue on to create Surveys for Self Check in, Click HERE
- Support Information -
If you have any questions or need assistance with this process please contact Support by:
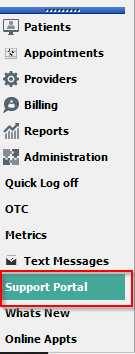
Live chat: Click the 'Support Portal' button in your main toolbar (on left-hand side), click the green 'Support' box in bottom right of screen.
***This has the fastest response time***
Phone: 909-378-9514
Email: support@coactionsoft.com
Business hours: Monday-Friday, 8:00am-6:00pm CST
Comments
0 comments
Article is closed for comments.