Creating “Quick Appointments"
The OTC area also allows you to create a Quick Appointment and add charges. Insurance may be billed if a patient has insurance present in their file.
Let’s walk through the Steps:

Existing Patient Steps
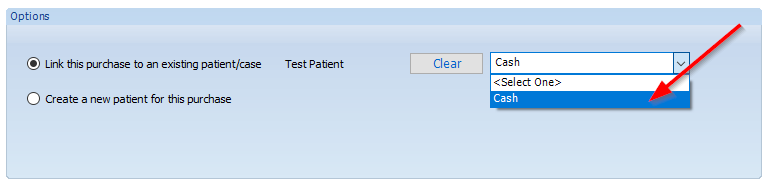
Select “Link this purchase to an Existing Patient”, press Select Button, Search Patients Name, Select Patient in Rolodex and Hit Open.

Make sure the Correct Case is selected in the drop-down and Select Next.
New Patient Steps
Anyone you would like to apply charges to, MUST be entered in and have a case created.
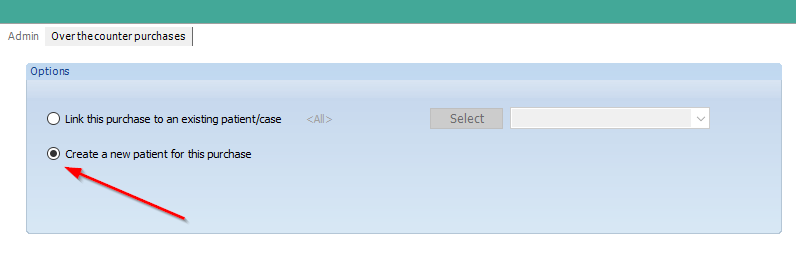
Select the “Create a New Patient for this Purchase” and select Next.
Add in ALL Necessary Info:
Patient name, Numbers, Email, Source (how they referred), DOB, Assigned Provider, Clinic, Case Description, Case Type, Price List and Designated Provider.
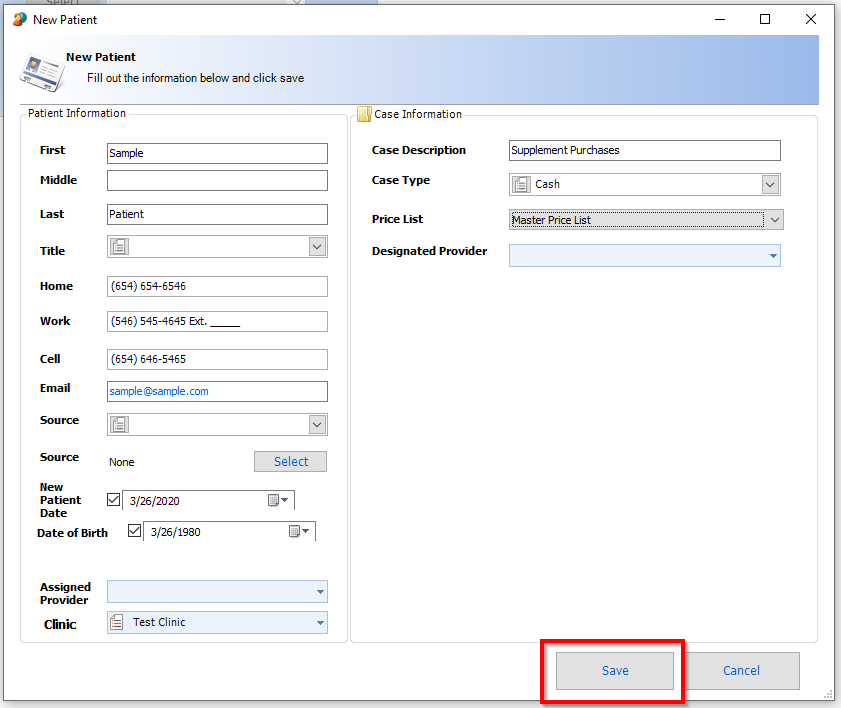
Once Finished Select Save
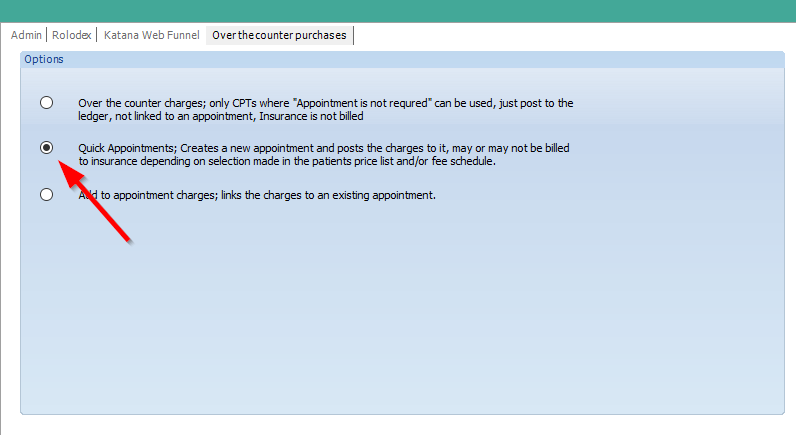
Select Quick Appointments Option.
You can add charges, ICDs, Soap notes, payments and complete the appointment without having to go through all the steps on the appointment dashboard.
This area is handy if a patient needed to be seen at lunch time, when office staff was out of the office and info needs to be added.
Select option, Next
Select proper Reason of Visit and Time for appointment, Select Save.
Patients appointment Screen will open for you to enter ALL necessary Data, Charges and Payments. Once completed, you will select Check Out.
If you forgot to take a payment on this screen, you can take one on the next screen.
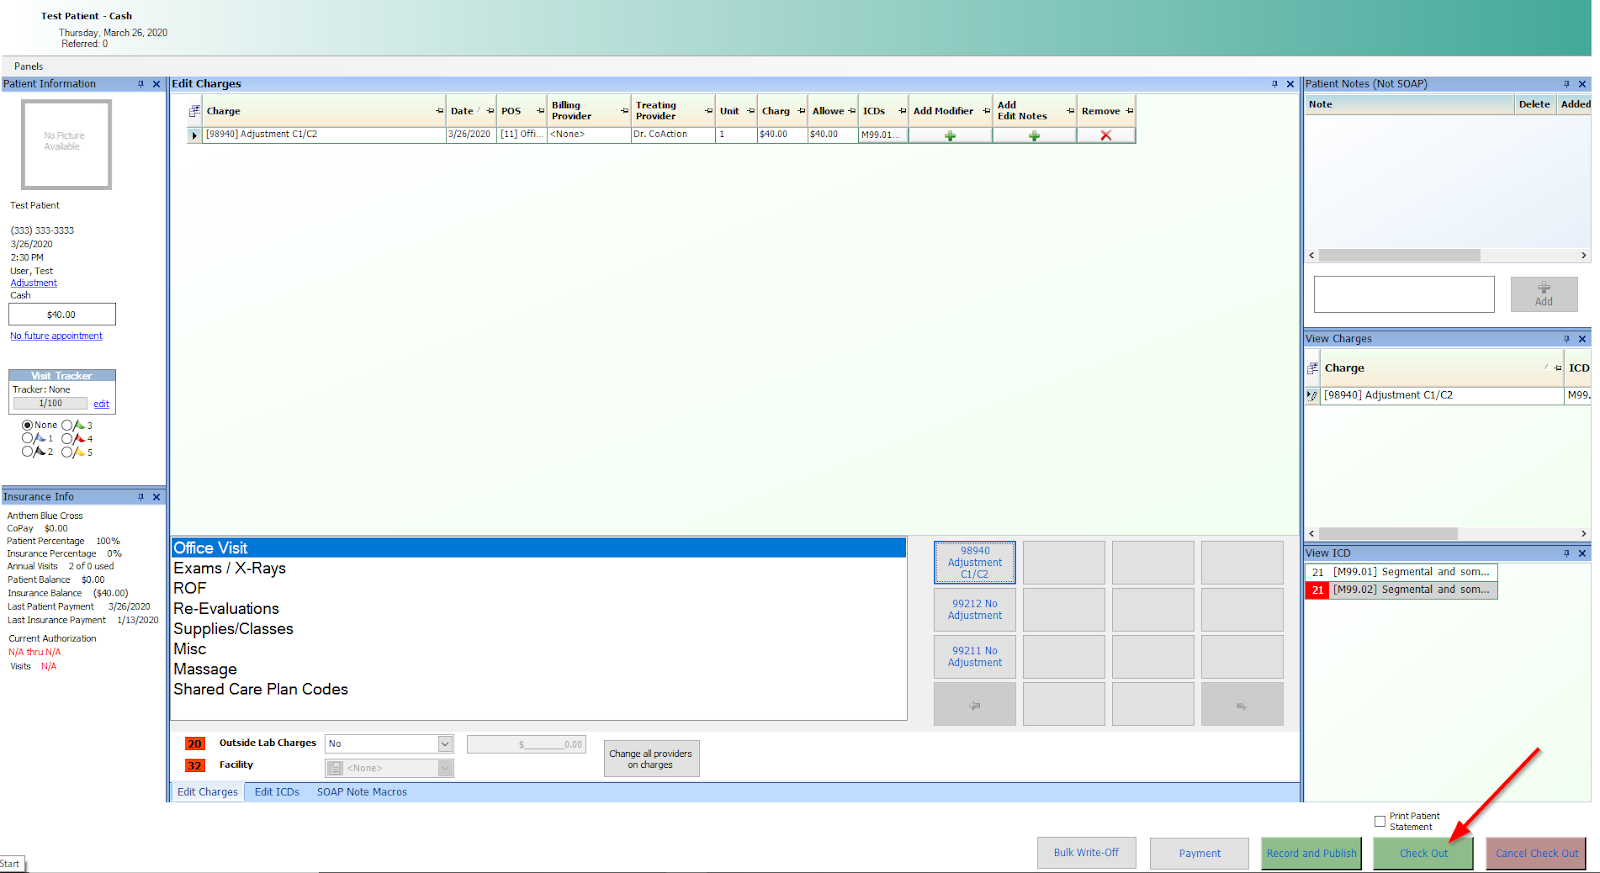
If you already took the payment, hit Finished
If you forgot, Select Payment button
The Patient Balance displayed will be for all items purchased plus tax
(if tax is to be applied)
If the patient has a case balance prior to this purchase, that amount will also be reflected here.
*If the patient has a prior balance and you just want to charge the patient the amount for OTC purchases, you can cancel payment screen, hit the back button and add up charge amounts as they will reflect the true amount due for each charge including tax.

Then Select Finished
Once the appointment has been checked out, you will see it among the rest of the completed appointments for the day.
- Support Information -
If you have any questions or need assistance with this process please contact Support by:
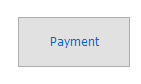
Live chat: Click the 'Support Portal' button in your main toolbar (on left-hand side), click the green 'Support' box in bottom right of screen.
***This has the fastest response time***
Phone: 909-378-9514
Email: support@coactionsoft.com
Business hours: Monday-Friday, 8:00am-6:00pm CST
Comments
0 comments
Article is closed for comments.